Basics
The Basics area names the template, chooses its record type, and sets who can see it.
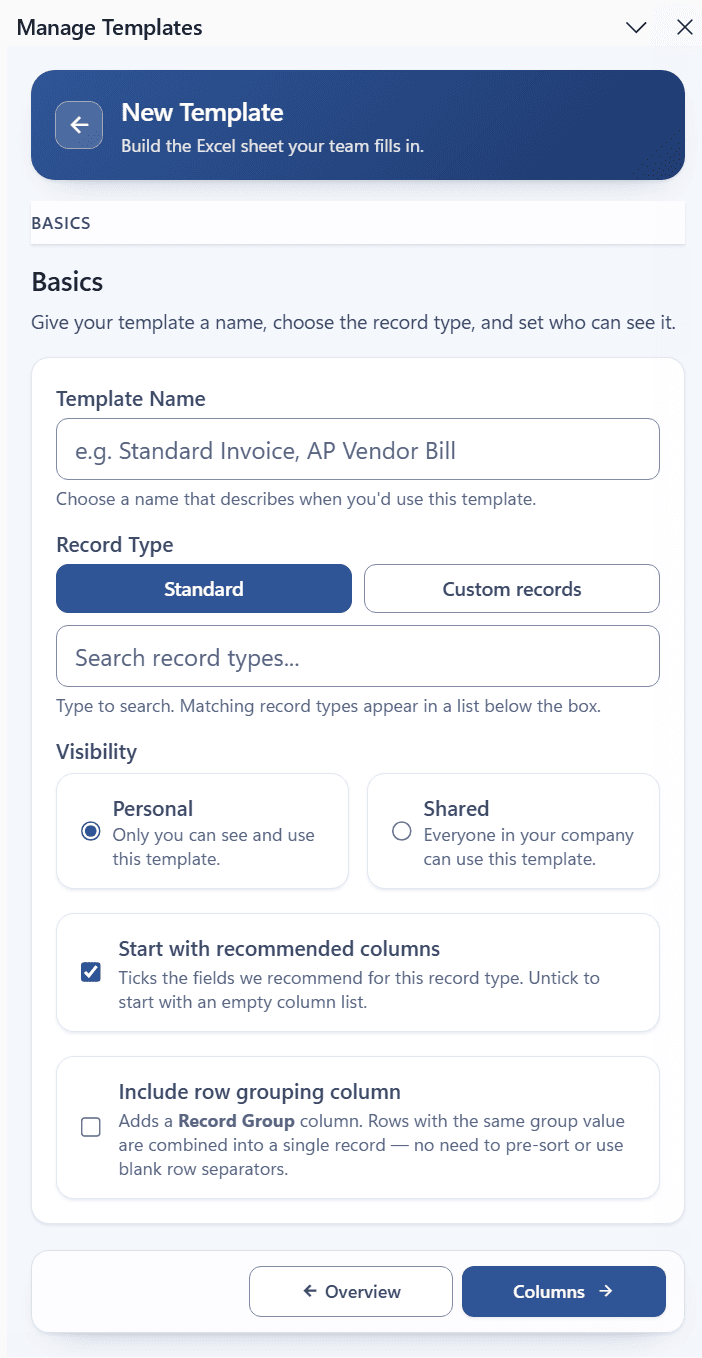
- Enter a Template Name that describes when you would use it, for example
AR InvoicesorNew Customer Load. - Choose a Record Type.
- Use the Standard tab for NetSuite's built-in record types or the Custom records tab for your account's custom records.
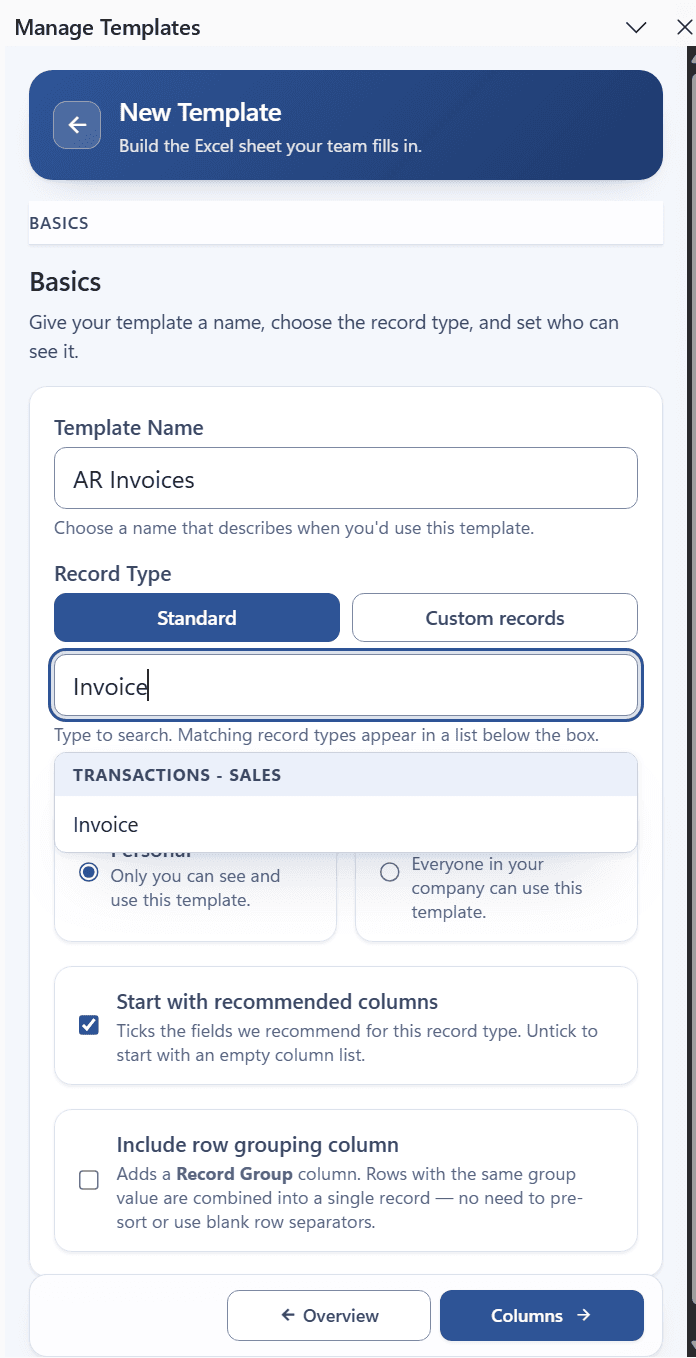
- Type in the search box. Standard record types are grouped by category. Custom records are listed alphabetically with their script ID beside the name.
- Select the record type. The editor loads its fields from NetSuite.
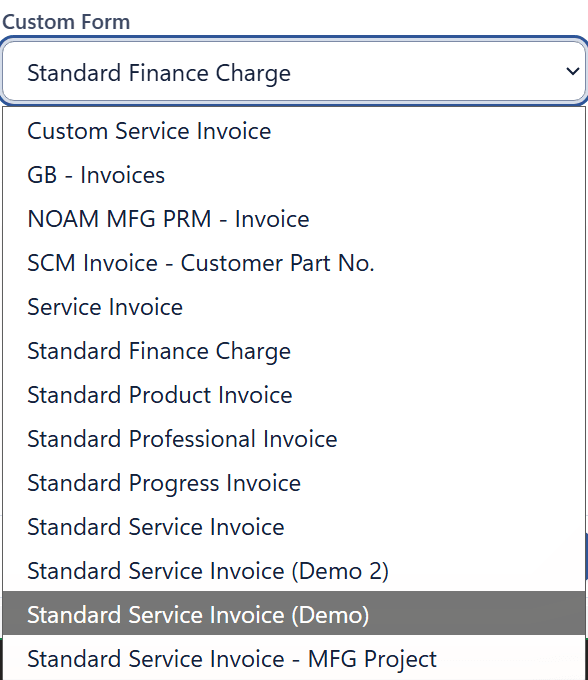
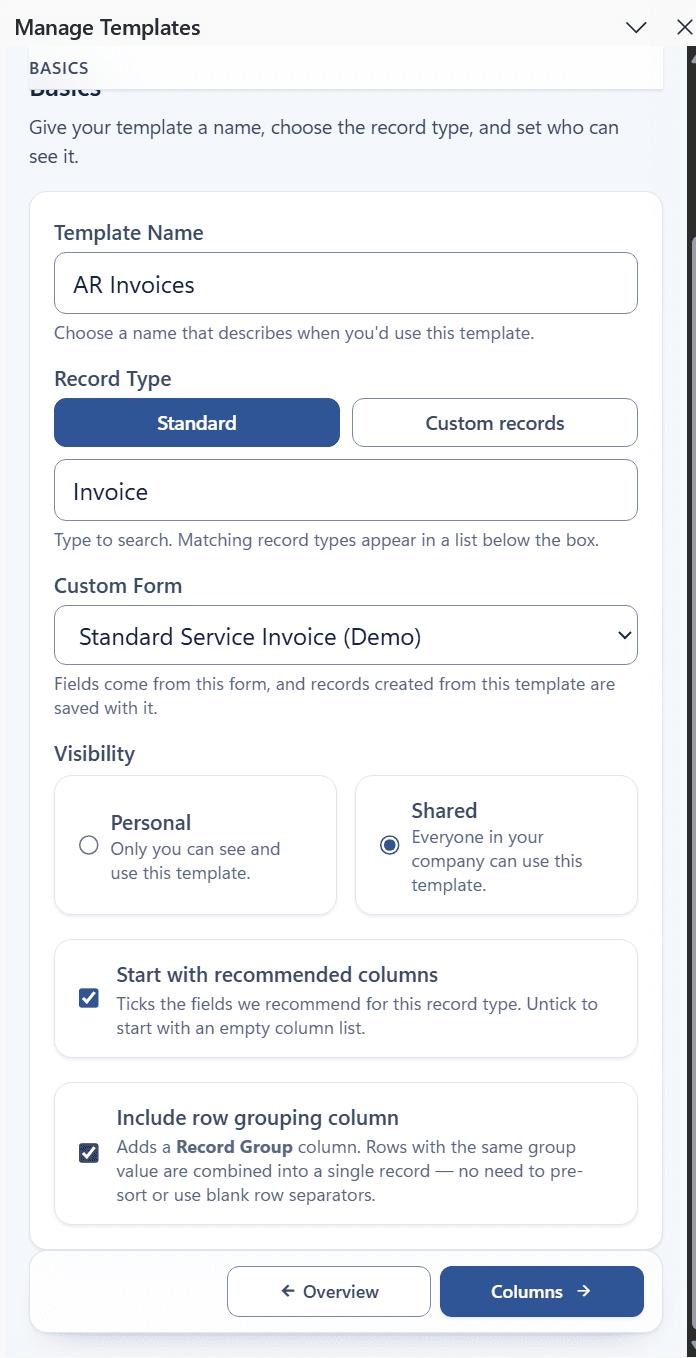
- If the record type has custom forms, choose a Custom Form. The fields offered on the Columns area come from this form, and records created with the template are saved with it. If you're not sure which form your team uses, open an existing record of this type in NetSuite and check its Custom Form field.
- Choose the template's Visibility.
- Personal: only you can see and use the template.
- Shared: everyone in your company can use the template. Only you can edit or delete it.
- Leave Start with recommended columns checked to start the Columns area with the fields Finsyte recommends for the record type, or uncheck it to start with an empty column list.
- Optionally, check Include row grouping column. This adds a Record Group column to the sheet so rows that belong to the same record can be identified without sorting, which helps with records that have more than one line, such as invoices or journal entries. Without it, rows are grouped by their body field values. See Fill in the Sheet.
- Select Columns to continue.
Remarks
- The record type cannot be changed after the template is saved. To use another record type, create a new template.
- Custom records are treated as header-only records: each row on the sheet is one record, and there are no line rows.
- If your account has no custom records, the Custom records tab reads
No custom records are defined in this NetSuite account. - Changing the custom form after choosing columns reloads the field list against the new form and re-applies that form's default values.
Next step: Columns