Edit Existing Records
Bulk record sheets update existing NetSuite records with the same three steps every time: download, change, upload. This page walks through that cycle and the variations on it.
Warning: Always download a record before you edit it. Never type or paste an Internal ID to edit a record. Rows that were not downloaded have no Line IDs, so the upload deletes the record's existing lines in every sublist the template has columns for and adds the sheet's lines as new ones. This happens even when you change only a body field such as Memo.
Download, Change, Upload
- Open a bulk record sheet, set a filter on row 4, and select Download. See Download Records.
- Change the cells you need to. Every downloaded row already carries its Internal ID, so Finsyte knows which record each row belongs to.
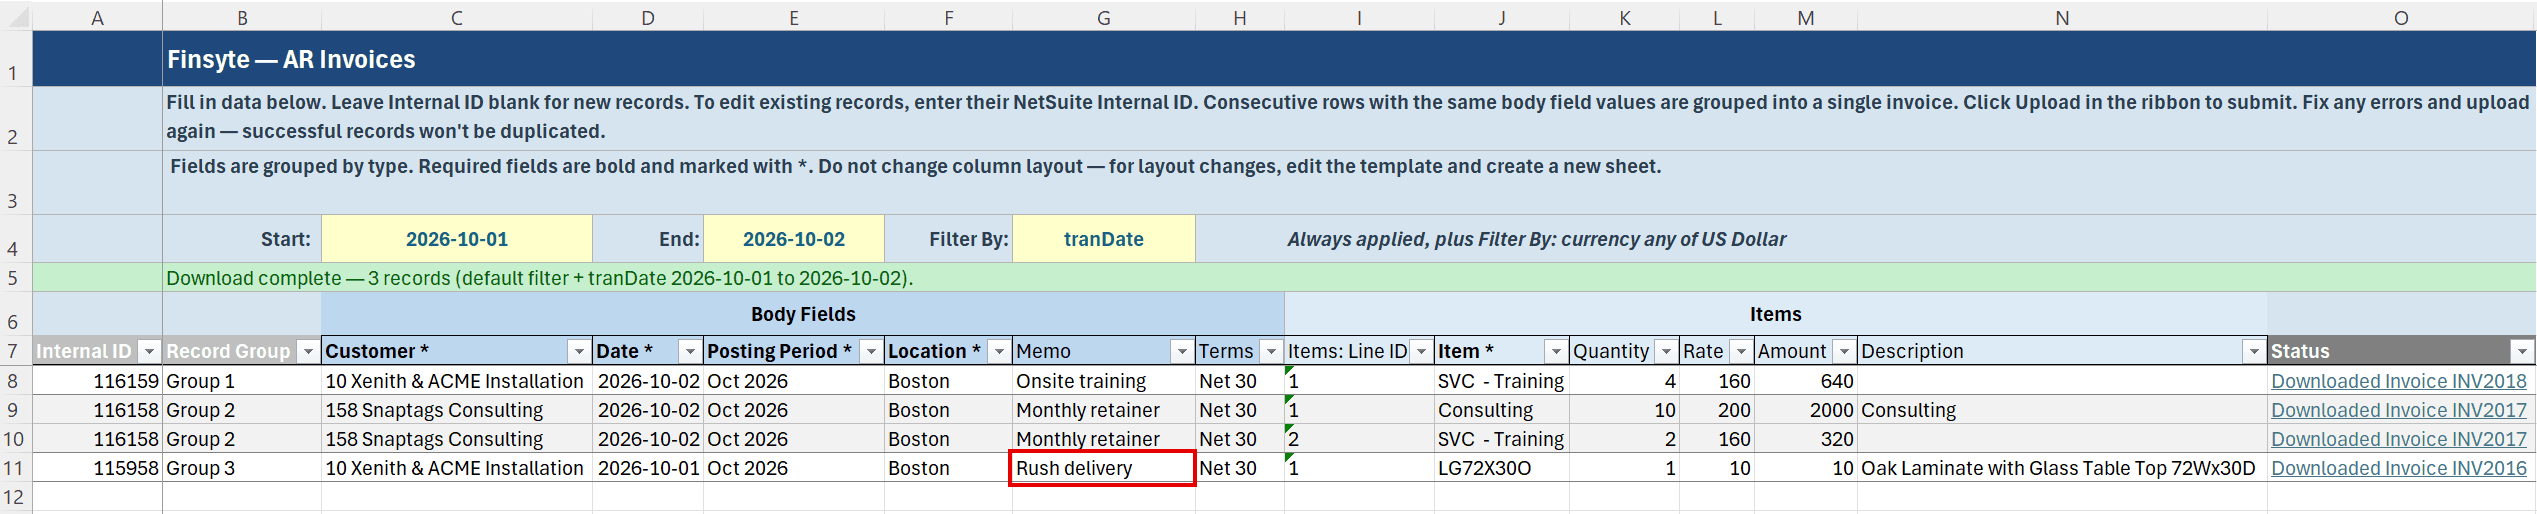
- Select Validate Sheet to preview what will be sent. Changed records read
Will update; untouched records are counted as unchanged. See Validate Sheet. - Select Add/Edit. Changed records read
Updated <Record Type> <number>and untouched records readSkipped (no changes). See Upload Records.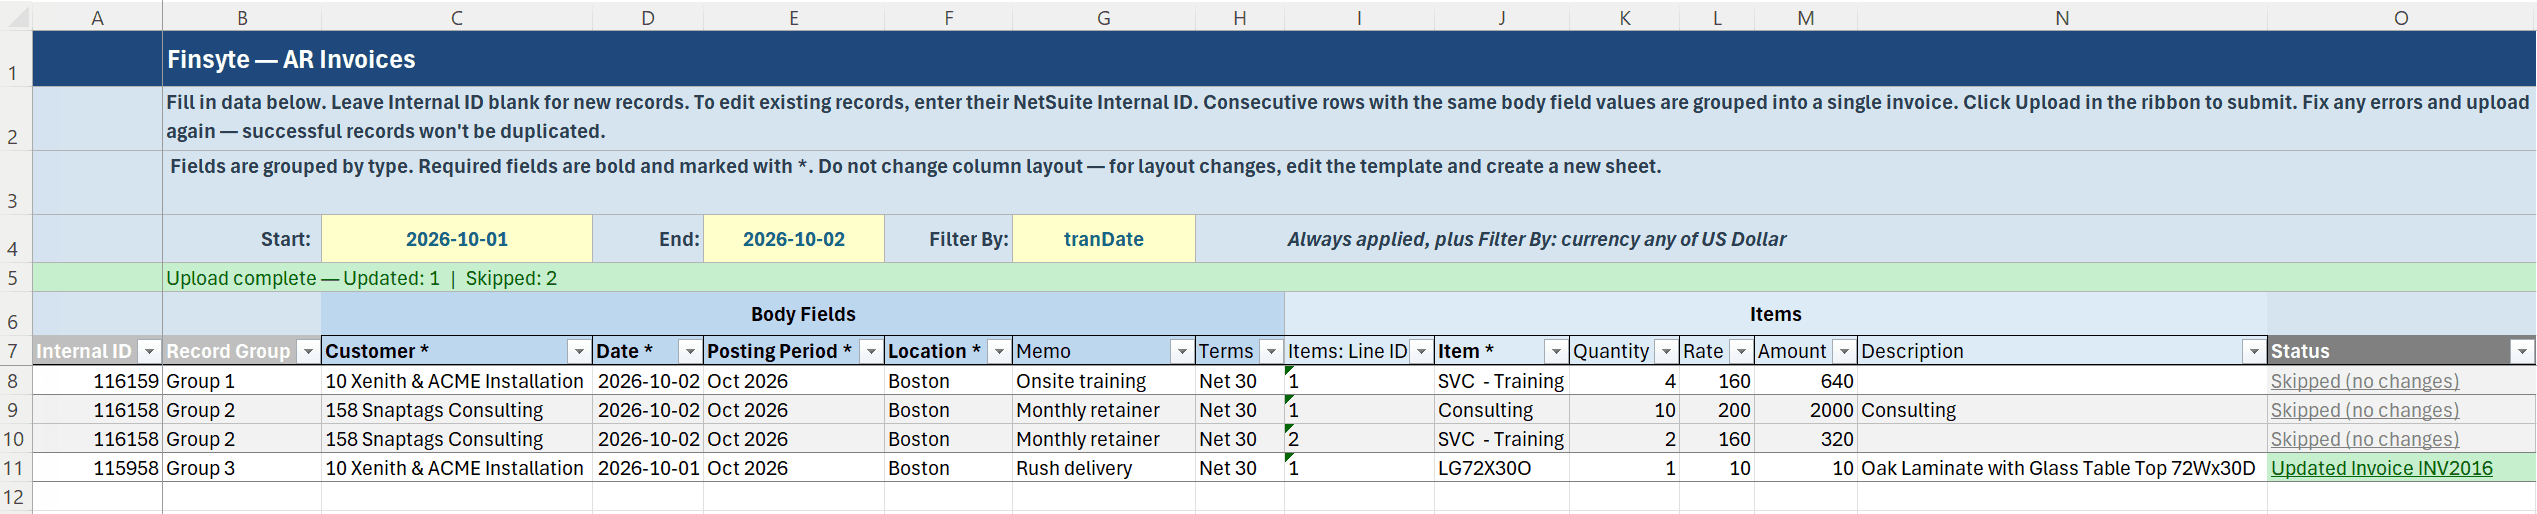
Only the fields that changed are sent to NetSuite. Everything else on the record is left as it is.
Add, Change, Replace, or Delete Lines
Each line's row carries its Line ID (for example in Items: Line ID), and the Line IDs decide what happens to the record's lines. In short:
| To | Do this |
|---|---|
| Change a line | Edit its cells. Keep its Line ID. |
| Clear a field on a line | Delete the cell's contents. Keep the Line ID. |
| Add a line | Insert a row inside the record, copy the record's Internal ID, body cells, and Record Group (if you use it) onto it, fill in the line, and leave its Line ID blank. |
| Copy a line | Copy the row and use Insert Copied Cells below it. The copy becomes a new line. |
| Replace a line | Clear only its Line ID. The old line is deleted and the row is added as a new line. |
| Delete a line | Delete the row. If the row also holds a line of another sublist, clear this line's cells and its Line ID instead. |
Work With Lines walks through each of these step by step, and Inventory Detail covers lines with lot numbers, serial numbers, bins, or statuses.
Warning: Clearing a line's cells while keeping its Line ID does not delete the line. It clears each field, and NetSuite usually rejects that. To delete a line, delete its row or clear its Line ID too.

Use an Existing Record as a Starting Point
To create a record that closely resembles one already in NetSuite...
- Download the existing record.
- Copy its rows and paste them below, leaving one blank row between the original and the copy.
- On the copied rows, clear the Internal ID cells, and if you use Record Group, give the rows a new value. Leave the Line ID and Inventory Assignment: ID cells as they are. Without an Internal ID every line is created new, and a line that spans several rows stays one line. Validate Sheet warns that each copied Line ID will be created new; that is expected for a copy.
- Change whatever should differ, then upload. The copy is created as a new record and the original is left unchanged unless you edited it too.
Remarks
- If the same Internal ID appears in two separate places on the sheet, Validate Sheet warns
Internal ID '<id>' appears in N blocks — each upload overwrites the previous one.Combine them into one record before uploading. - After an upload, the sheet is refreshed from NetSuite. Values that NetSuite changed, such as recalculated totals, appear on the sheet.
- Uploading the same sheet again later sends only what changed since the last upload or download.
Next step: Work With Lines